Garmin and Home Assistant Integration
Continuing the series of articles, this one focuses on integrating Garmin watches with Home Assistant.
As I explored further ideas for enhancing my smart home, I realized the need to control it directly from my smartwatch. If you have an Apple Watch, this functionality is available out of the box (even if Siri isn’t the sharpest tool in the shed, it gets the job done). However, Garmin users face a more adventurous path to setup.
Getting Started
The first step is to install the GarminHomeAssistant app from the IQ Store. The installation process is straightforward and standard. The project’s source code is available on GitHub (link), which also contains detailed setup instructions.
Configuration Steps
The setup process consists of two main parts:
- Obtaining an access token for Home Assistant’s API.
- Configuring the app for smart home control.
For the first step, I won’t go into much detail. A Long-Lived Token can be obtained through Home Assistant’s interface. Here’s some documentation for reference: Long-Lived Access Token. Disclaimer: This token provides full access to your smart home. If you control security-related devices (locks/cameras), be cautious about the potential risks of sharing this key with Garmin or the app’s developer.
Configuration Example
Let’s dive deeper into the second step. My configuration example is available on GitHub. Using GitHub Pages, I make this file accessible at this link for the watch setup.
The configuration defines the menu structure in the Garmin app. Each menu item can be one of the following types: template, tap, toggle, or group.
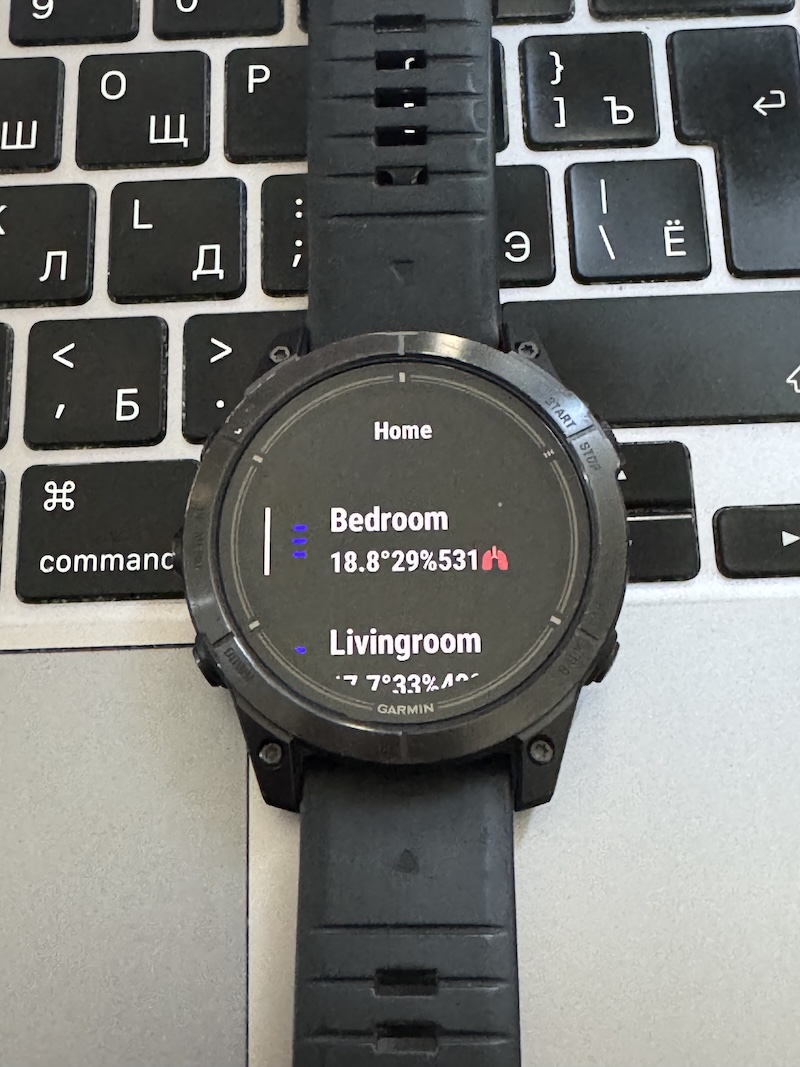
Template: Displays information from various sensors (e.g., temperature, humidity). Home Assistant’s template syntax is used, and you can debug using its developer tools. My configuration shows the current temperature, humidity, and CO2 levels, as well as whether heating or cooling is active. Example template code:
{% if is_state('sensor.sensor_temp02_temperature', 'unavailable') %}-{% else %}{{ '%.1f'|format(states('sensor.sensor_temp02_temperature')|float) }}°{% if is_state('climate.bedroom_aircon', 'heat')-%}🔥{%- endif %}{% if is_state('climate.bedroom_aircon', 'cool')-%}❄️{%- endif %}{% endif %}{% if is_state('sensor.sensor_temp02_humidity', 'unavailable') %}-{% else %}{{ '%.0f'|format(states('sensor.sensor_temp02_humidity')|float) }}%{% endif %}{% if is_state('sensor.co2_bedroom', 'unavailable') %}-{% else %}{{ '%.0f'|format(states('sensor.co2_bedroom')|float) }}🫁{% endif %}Resulting in a string like:
18.8°🔥29%493🫁(indicating heating is on and, unsurprisingly, winter in Israel isn’t very warm).Bonus: You can set the informational string to trigger an action on tap. For example, I use:
"tap_action": {
    "service": "script.livingroom_climate"
}
This runs a script that toggles heating or cooling based on the temperature.
Script example:
alias: bedroom_climate sequence: - if: - condition: not conditions: - condition: state entity_id: climate.bedroom_aircon state: "off" then: - service: climate.turn_off target: entity_id: climate.bedroom_aircon else: - if: - condition: numeric_state entity_id: climate.bedroom_aircon attribute: current_temperature above: 23 then: - service: climate.set_temperature data: temperature: 17 hvac_mode: cool target: entity_id: climate.bedroom_aircon else: - service: climate.set_temperature data: temperature: 26 hvac_mode: heat target: entity_id: climate.bedroom_aircon description: ""Toggle: Controls switches such as lights, appliances, or a boiler. For instance, I control lights in the bedroom, kitchen, and living room, as well as the boiler.
Group: A menu grouping multiple sub-items. You can use a template here too. I’ve duplicated the climate information field in my setup.
Results
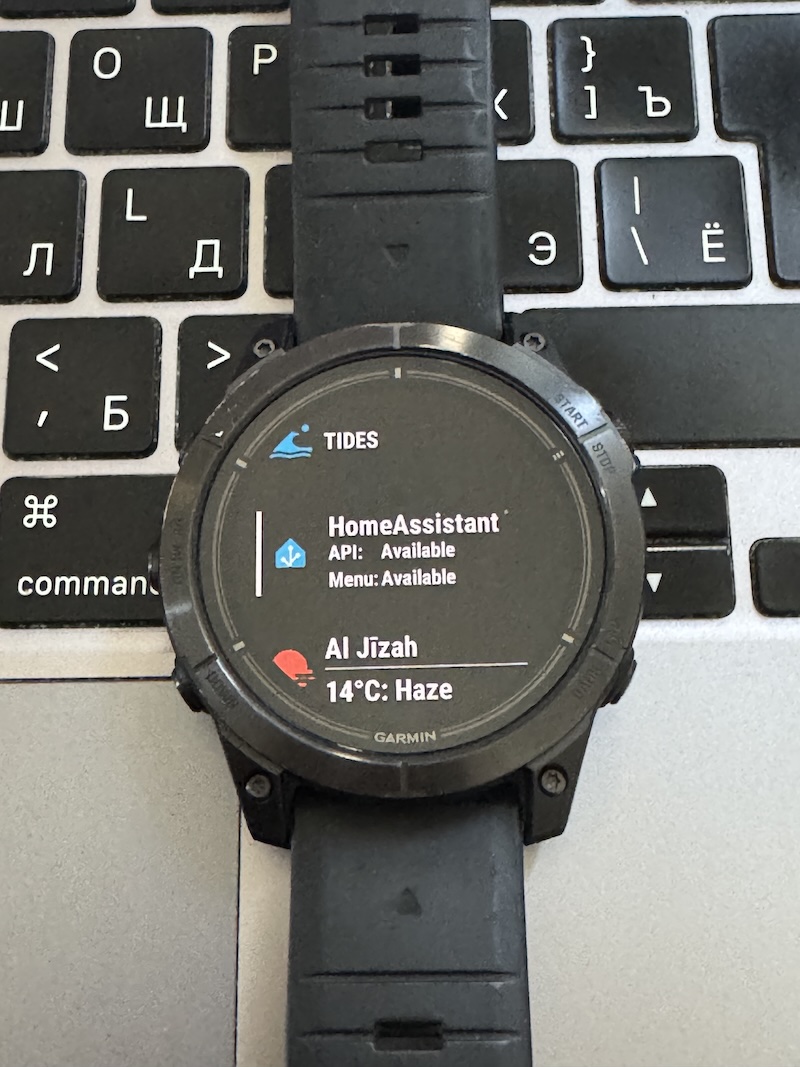
Here are a few photos of the final setup on the watch. Happy automating!


